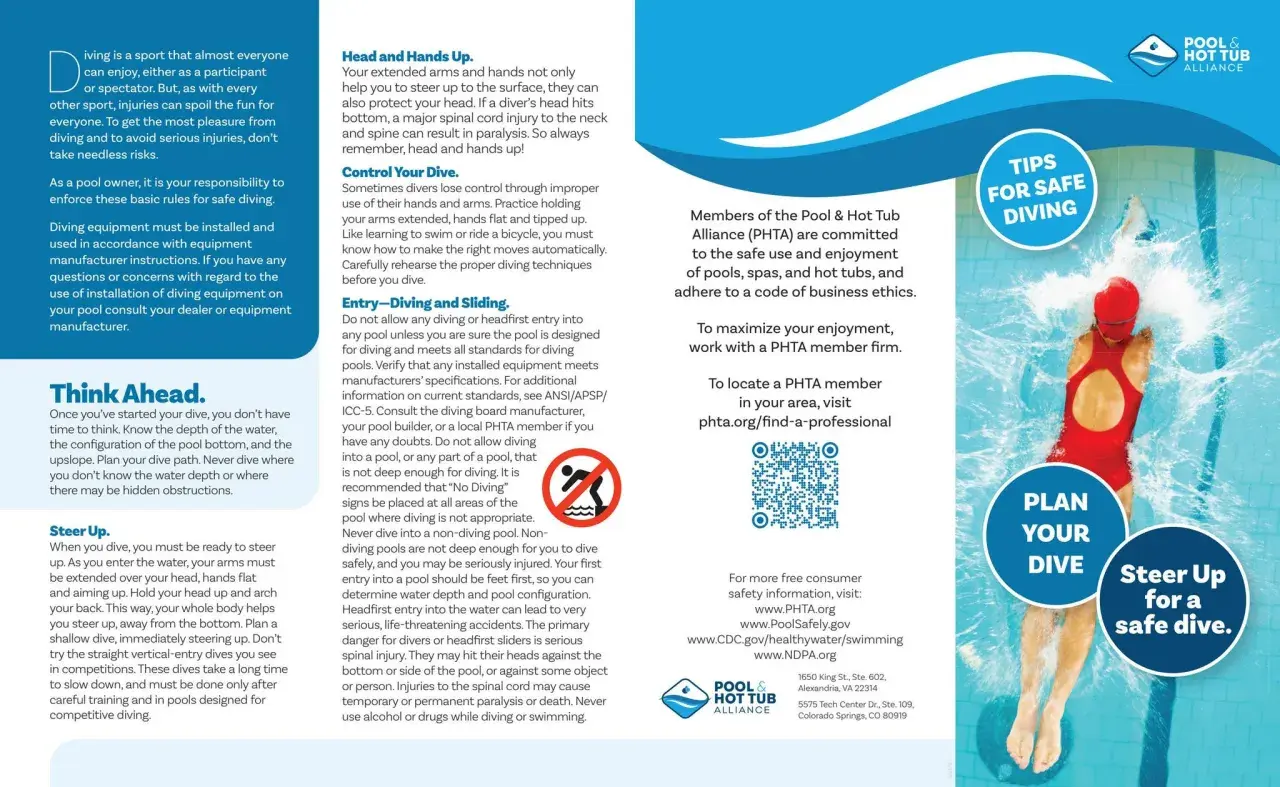
The essentials for a safe, clean first dive
- Use a feet-first entry whenever depth, visibility, or local pool rules are uncertain.
- Hold a long streamline: hands together, arms by the ears, core braced, hips high.
- Drive from the legs, not from the shoulders, and keep the head neutral until entry.
- Think about a narrow hole in the water, not a big splash.
- In current UK practice, pool depth matters: Swim England’s racing-entry guidance sits at 1.35 m, while RLSS UK recommends 1.5 m for dive entries and 1.8 m when teaching beginners.
Choose the right entry for the pool you are in
Not every pool is a place to practise a head-first entry. If the depth, visibility, or lane traffic is unclear, I would stay feet-first and work on push-offs and glide lines instead. The numbers matter because a good shape is useless if the pool is not suitable for the drill.
| Entry type | Best for | Main cue | When I would avoid it |
|---|---|---|---|
| Feet-first entry | Unknown depth, crowded lanes, or new swimmers | Upright, calm, controlled | When you are trying to practise a head-first entry |
| Kneeling or seated dive | Early practice and confidence building | Short flight, hands first, tight line | If you cannot keep the head neutral |
| Standing poolside dive | Basic racing-entry skill | Streamlined, compact, quiet entry | Shallow water or crowded lanes |
| Block start | Club or race training | Strong drive and stable flight | Until your poolside dive is repeatable |
If a venue has a no-diving rule, treat that as a hard stop and move to glide work or a shallow-water drill. Once the setting is right, the next step is body position, because the water punishes every loose angle.
Set up a body line that can actually enter cleanly
I coach swimmers to feel long before they feel powerful. Hands together, arms locked by the ears, chin neutral, ribs in, and glutes switched on: that is the shape that gives the entry somewhere to go. If the shoulders shrug or the lower back arches, the dive opens up and the splash gets bigger.
On land, I sometimes cue swimmers to imagine a single line from fingertips to heels. The goal is not to look dramatic; it is to look compact. When the body line is right, the launch becomes easier and the entry gets quieter.
The movement sequence I teach beginners
I keep the sequence simple because beginners usually fail on timing, not courage. Think of the dive as one continuous action, not a jump followed by a separate entry.
- Stand at the edge with feet about hip-width apart and your weight slightly forward over the balls of the feet.
- Reach into a tight streamline, then set the head so the neck stays long.
- Bend the knees and hips just enough to load the legs without collapsing at the waist.
- Push the floor or poolside away rather than throwing the chest forward.
- Let the hands lead the way into the water, with the head following between the arms.
- Keep the body straight through entry, then tighten the line again as soon as you are under the surface.
The phrase I use most is simple: push, don’t jump. If the swimmer thinks “jump”, they usually travel up and out; if they think “push”, they travel forward with much better control. That leads straight into what the entry should feel like once the hands touch the water.
What a clean entry feels like in the water
A clean entry is narrow, quiet, and brief. You should feel the hands cut through first, then the head and shoulders follow through the same hole, not a second one. In a good repetition, there is just enough splash to prove you entered the water, and just enough glide to hold the line before the first stroke.
- The splash is small, not explosive.
- The body stays aligned instead of folding at the hips.
- The glide travels forward for a few metres before the first kick or stroke.
- You can keep the face calm rather than bracing for impact.
If the entry feels heavy, I usually look first at hand position, then at the timing of the leg drive. That is where most problems begin, which is why the next section is about the mistakes I see most often.
Common mistakes that turn a dive into a splash
Most bad entries are fixable, and the fix is usually less dramatic than swimmers expect. I rarely see a problem that comes from “not enough power” alone; the shape is usually off first.
- Throwing the head forward, which breaks the line and makes the torso dive too steeply.
- Reaching with the arms but not loading the legs, which creates a weak launch and a flat splash.
- Entering with the hands apart, which splits the water and forces the shoulders to follow two paths.
- Bending at the waist, which collapses the body line before the hands even enter.
- Trying to go far instead of clean, which usually means more height, more splash, and less control.
- Practising too early in shallow or crowded water, which is a safety problem, not a technique problem.
I tell swimmers that a sloppy first metre usually starts on dry land or on the edge, not in the middle of the dive. Fix the setup and the water work improves quickly.
When to move from poolside entries to block starts
Move to a block start only when your poolside entry is repeatable and calm. I want swimmers to hold a tight streamline, enter without flinching, and keep the line stable long enough to create a useful underwater phase. If that is not happening from the edge, the block will only exaggerate the same issues.
| You are ready when | You are not ready when |
|---|---|
| You can repeat the same clean entry several times in a row | Every repetition looks different |
| You can keep a streamline after entry | You lose shape the moment your hands touch |
| You know the pool depth and lane space are suitable | You are guessing or relying on someone else to check |
| You can control the start without rushing | You feel the need to force speed to make it work |
That is the point where a racing start becomes a progression, not a gamble. Once the entry is reliable, the underwater phase and the first stroke can finally do their job.
Dry-land work that makes the water entry easier
I get better entries faster when swimmers rehearse the shape away from the pool. A few minutes on dry land can clean up shoulder position, trunk tension, and the leg drive that the water exposes instantly.
- 3 sets of 20 to 30 seconds of hollow-body holds to train the core line.
- 8 to 10 squat-to-toe rises to practise loading and driving from the legs.
- 6 to 8 slow overhead reaches with palms together to reinforce the streamline.
- 5 to 6 controlled forward hinges with a long spine to keep the hips from folding.
- 30 to 45 seconds of wall-facing arm holds if shoulder mobility is the limiting factor.
If the shoulders or lower back hurt during any of that, I would stop and reset the movement instead of forcing more range. A dive should feel organised, not strained, and the same is true for the drills that support it.
A simple progression that keeps the first dive honest
For a beginner, I would keep the progression boring on purpose: feet-first entry when needed, then a kneeling or seated entry, then a standing poolside dive, and only then a block start. That order protects the swimmer from shallow-water mistakes while building the body line that makes every later entry better.
- Repeat each stage until it looks calm three times in a row.
- Keep the splash small rather than chasing distance.
- Check depth every session, not just the first one.
- Use goggles that fit well so the entry is about shape, not flinching.
If you remember only one thing, make it this: the best dive is the one that is safe, narrow, and easy to repeat. Once that feels natural, you can build speed and move towards race starts without undoing the fundamentals.