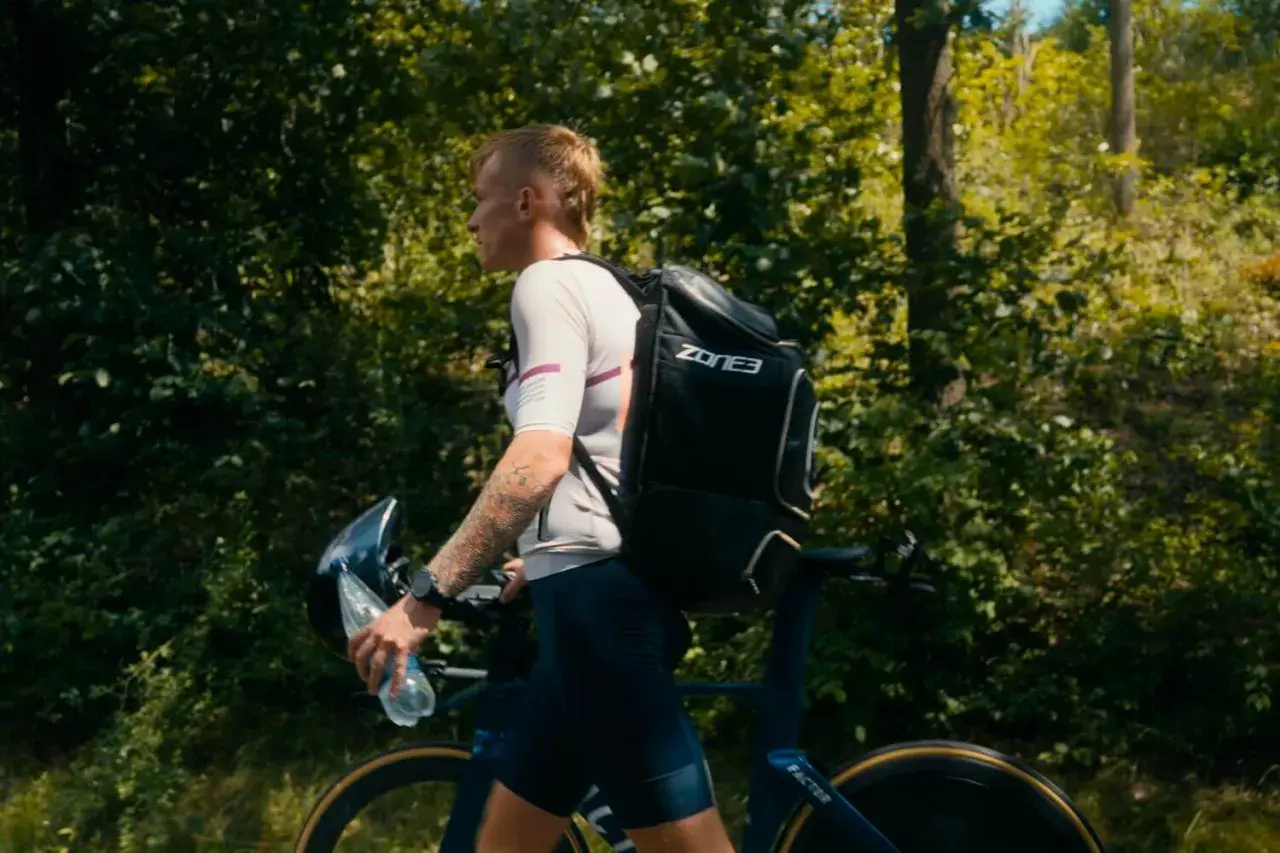
The fastest transitions are simple, rehearsed, and free of clutter
- The transition zone is your assigned space for gear, usually near the start and finish.
- Keep only the essentials there: helmet, shoes, goggles, race belt, nutrition, and a towel if you use one.
- T1 is about moving cleanly from swim gear to bike gear; T2 is the reverse.
- Your helmet comes first, and your bike stays on the rack until you are fully ready to go.
- In longer races, especially iron-distance events, bags and change tents may replace the simple rack-and-gear setup.
What triathlon transition areas are really for
The transition zone is a controlled work area, not extra storage. It gives every athlete a small, assigned space to move from one discipline to the next without turning the race venue into a pile of wetsuits, shoes, and bikes. In most U.S. races, that space is fenced or clearly roped off, and the layout is built to keep people moving in one direction with as little confusion as possible.
| Term | What it means | Why it matters |
|---|---|---|
| Transition area | Your assigned spot for gear and bike racking | It is where you set up and where your race clock keeps moving |
| T1 | Swim to bike transition | This is where wetsuits, goggles, and swim caps get replaced by helmet and bike gear |
| T2 | Bike to run transition | This is where the bike comes off your body and run shoes take over |
| Mount line | The line where you are allowed to get on the bike | Crossing it too early can cost time or trigger a penalty |
| Dismount line | The line where you must be off the bike before entering T2 | It is the safety boundary that keeps riders from crashing into a crowded exit |
That structure explains why transition feels so precise: the race is asking you to make quick decisions inside a very small footprint. Once that makes sense, the next job is setting up your spot so you never have to think twice.

How I set up a fast, tidy rack spot
When I walk into transition, I want my eyes to answer the next move instantly. That starts with finding the correct rack row, then the exact number or assigned position, and then mentally tracing the route from swim entrance to bike exit and from bike entrance to run exit. If I can picture the flow before the start gun, I save myself from the most common race-day panic: knowing where my gear is but not where my body is supposed to go.
My setup order
- Rack the bike exactly where the race staff tells you to.
- Keep the bike stable and easy to grab by the saddle or handlebars, depending on the rack style.
- Place helmet, shoes, sunglasses, and nutrition in the order I will touch them.
- Keep swim gear and run gear separated so I do not mix the two in a hurry.
- Use a small towel only if it helps define the space and keep items visible.
I prefer a setup that looks almost boring. A bright, obvious layout beats a clever one every time. If I have to hunt for anything, I have already made the spot too complicated.
What belongs there and what does not
At minimum, I want the essentials only: bike helmet, bike shoes, run shoes, goggles, swim cap, race belt, and whatever nutrition I plan to use early in the bike or run. Sunglasses, sunscreen, and a hat or visor are useful extras when the weather calls for them. The less I bring, the faster my decisions get.
The things I leave out are just as important: oversized bags, spare clothing, loose junk, and anything that spreads beyond my small assigned space. A clean transition spot is faster to use and easier to defend under pressure. From there, T1 becomes a sequence instead of a scramble.
Moving through T1 from swim to bike
T1 begins before I am fully out of the water. I look for the most direct line to the exit, then I strip off the swim gear in motion so I arrive at my spot ready to keep moving. If I wait until I am standing still and winded, I lose the rhythm I need for a clean start to the bike leg.
The sequence that works
- Exit the swim with the route to transition already in mind.
- Remove goggles and cap, and start clearing the wetsuit or swimskin as early as the race allows.
- At the rack, finish removing the suit and place swim gear back inside your space.
- Put the helmet on and fasten the chin strap before touching the bike.
- Put on shoes, glasses, and nutrition, then grab the bike and move to the mount line.
That helmet step is non-negotiable. I see too many beginners treat it like a formality, then fumble because they are trying to do three tasks at once. The better habit is simple: helmet on, strap fastened, then bike leaves the rack. If the race offers wetsuit strippers, they can save time, but I still want my own motions rehearsed in case the help is crowded or unavailable.
At the mount line, patience beats heroics. I am not trying to impress anyone by jumping on early. I am trying to get on cleanly, safely, and without a penalty. Once the bike leg starts, the next challenge is returning to the rack with enough control to reset for the run.
Moving through T2 from bike to run
T2 is where strong cyclists sometimes lose minutes because their legs feel unfamiliar. After the bike dismount line, the goal is to move smoothly enough that I do not waste the run legs I just paid for. A clean T2 is usually quieter than T1, but it still rewards the same thing: a setup that lets me act without thinking.
Read Also: Alex Yee's Triathlon Strategy - Master Your Race Like a Pro
The order that keeps me efficient
- Dismount before the marked line and never gamble with it.
- Run the bike back to the rack and return it to the correct spot.
- Only after the bike is secure do I remove the helmet.
- Put on run shoes, socks if I use them, a race belt, and a hat or visor if needed.
- Take a sip, straighten up, and leave transition under control instead of rushing into a wobble.
If I am wearing my bib on the bike because the race instructions require it, I follow that rule. If not, the race belt usually belongs in T2, not earlier. Either way, the same principle holds: the transition should feel like one smooth motion, not a series of unrelated tasks. That is why experienced athletes obsess over setup details before race day.
Rules and mistakes that slow you down
The fastest transition is not just the one that is tidy; it is the one that stays inside the rules. In U.S. races, glass containers are generally prohibited in transition, race numbers must be handled according to the event rules, and your gear has to stay contained inside your assigned space. Those are not small details. They are the difference between a calm transition and an avoidable penalty.
| Common mistake | Why it hurts | Better habit |
|---|---|---|
| Bringing too much gear | Creates clutter and forces extra decisions | Pack only what you will actually touch |
| Leaving items outside your area | Can annoy other athletes and may violate race rules | Keep everything inside your assigned space |
| Forgetting the helmet order | Costs time and can lead to a penalty | Helmet first, then bike, always |
| Crossing mount or dismount lines too early | Unsafe and often penalized | Slow down at the lines and commit to the marked exit |
| Trying a new transition strategy on race morning | Creates hesitation exactly when calm matters most | Practice the exact sequence before race day |
What I also avoid is the fake “mark my spot” habit. Big balloons, chalk, and other obvious markers are often unnecessary, and sometimes frowned upon. If the layout is crowded, the best marker is a disciplined mental map, not extra stuff. That matters even more when the race format changes the entire transition setup.
How different race formats change the setup
Not every event uses the same transition layout. Sprint and Olympic races usually keep things simple: one rack spot, one bike, one run. Middle-distance races add more nutrition and more time pressure, but the basic system is still familiar. Longer races, especially iron-distance events, often shift to bag-based logistics and change tents, which means the athlete is managing a different kind of order rather than just a bigger version of the same space.
| Race format | Typical transition style | What changes for the athlete | Best focus |
|---|---|---|---|
| Sprint | Single rack spot and compact setup | Everything happens fast | Keep the setup minimal and easy to read |
| Olympic | Same basic rack system, slightly more gear | More room to make small mistakes | Stay organized and repeat the same routine |
| 70.3 | Still usually rack-based | More nutrition, more sunscreen, more time on course | Build a setup that supports pacing, not just speed |
| Iron-distance | Often uses change tents and special bags | More logistics, fewer quick rack-based decisions | Label bags clearly and rehearse the flow |
| Point-to-point | May use separate transition locations | You have to manage two different setups | Track where each bag and bike belongs before race morning |
I think this is where many first-time racers get tripped up: they assume transition always looks the same. It does not. The rule is to adapt the system to the race, not to force every race into one habit. That is why the final piece is rehearsal.
What I would practice before race day
If I had one short practice session to prepare someone for race day, I would not start with fitness. I would start with movement. First, I would have them walk the transition route until they could find their rack position without hesitation. Then I would have them rehearse the helmet, bike, and shoe sequence until it felt automatic. Finally, I would make them practice the two most common pressure moments: coming out of the swim without fumbling and leaving T2 with tired legs but a clear head.
That kind of practice does more than save time. It lowers noise. When the transition zone feels familiar, the race becomes easier to manage, and the athlete gets to spend energy where it matters most: swimming efficiently, riding well, and running with something left in the tank. If you want one simple rule to remember, it is this: make the space simple, make the sequence boring, and let the race happen around that structure.